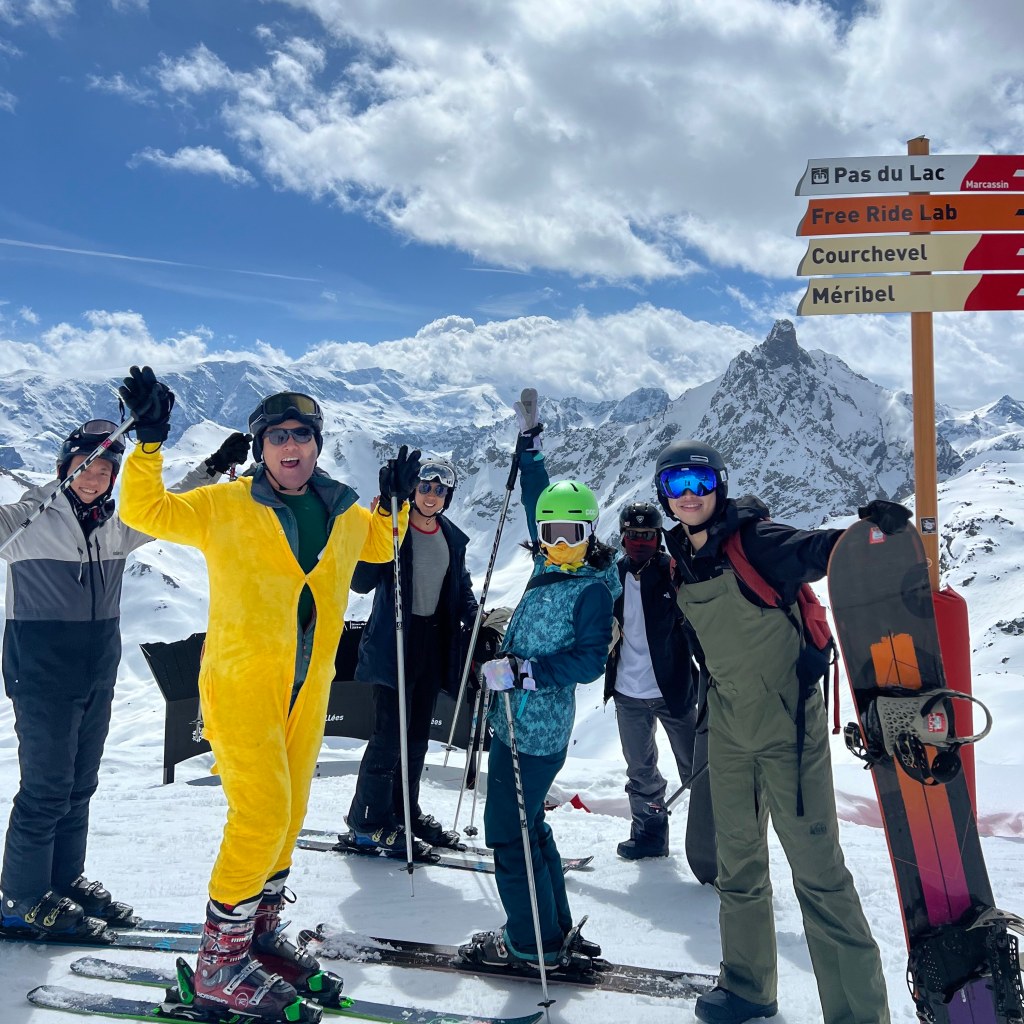
If you’re about to embark on your first snowboarding or skiing adventure, you’re in for an exhilarating experience. However, diving into these winter sports without the right knowledge can be daunting. Here’s a comprehensive guide to get you started, covering everything from how to layer up to understanding slope classifications.
1. How to Layer for Skiing and Snowboarding
One of the most common mistakes first-timers make is overdressing. While it’s important to stay warm, skiing and snowboarding are physical activities that can heat you up quickly. Here’s a layering strategy to keep you comfortable:
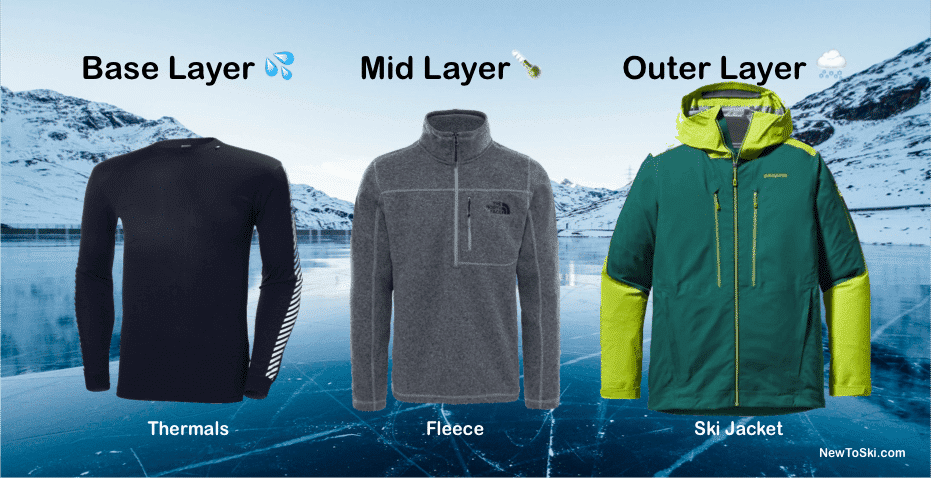
Base Layer:
- Purpose: To wick moisture away from your skin.
- Material: Choose synthetic or wool. Avoid cotton as it absorbs moisture.
- Examples: Uniqlo thermals
Mid Layer:
- Purpose: To provide insulation and keep you warm.
- Material: Fleece or down.
- Examples: Fleece jackets or down vests or a sweater
Outer Layer:
- Purpose: To protect you from ice, wind and water.
- Material: Waterproof fabric with some insulation
- Examples: Decathlon Ski Jackets
Important Tip:
If you are not ready to commit to a ski jacket and pants that is totally fine! The very first time I snowboarded, I wore a normal winter jacket and track pants! The most important thing here is ensuring your outer layer is waterproofed as this will prevent the snow from melting into your clothes! Once you are hooked on the sport, which you are most certain to, you can start investing in better and more stylish clothing!
2. What Equipment and Gear to Buy
When starting, you don’t need to invest heavily in gear. Here’s what you should consider buying versus renting:
Buy:
We recommend you to buy these items as they are necessary and cheaper to buy than rent!
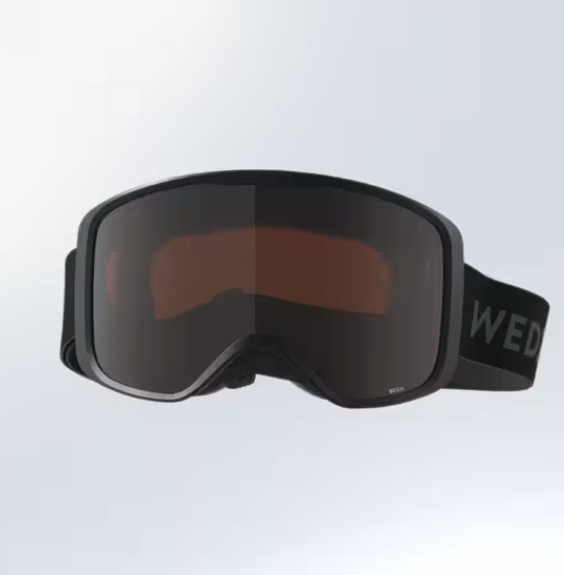
- Ski Goggles: They protect your eyes from UV rays, wind, and snow. After my first multi-day ski trip, I realised that the sun is very harsh in the mountains. Ski goggles are very much necessary if you want to keep your eyes from feeling like they have been burnt!
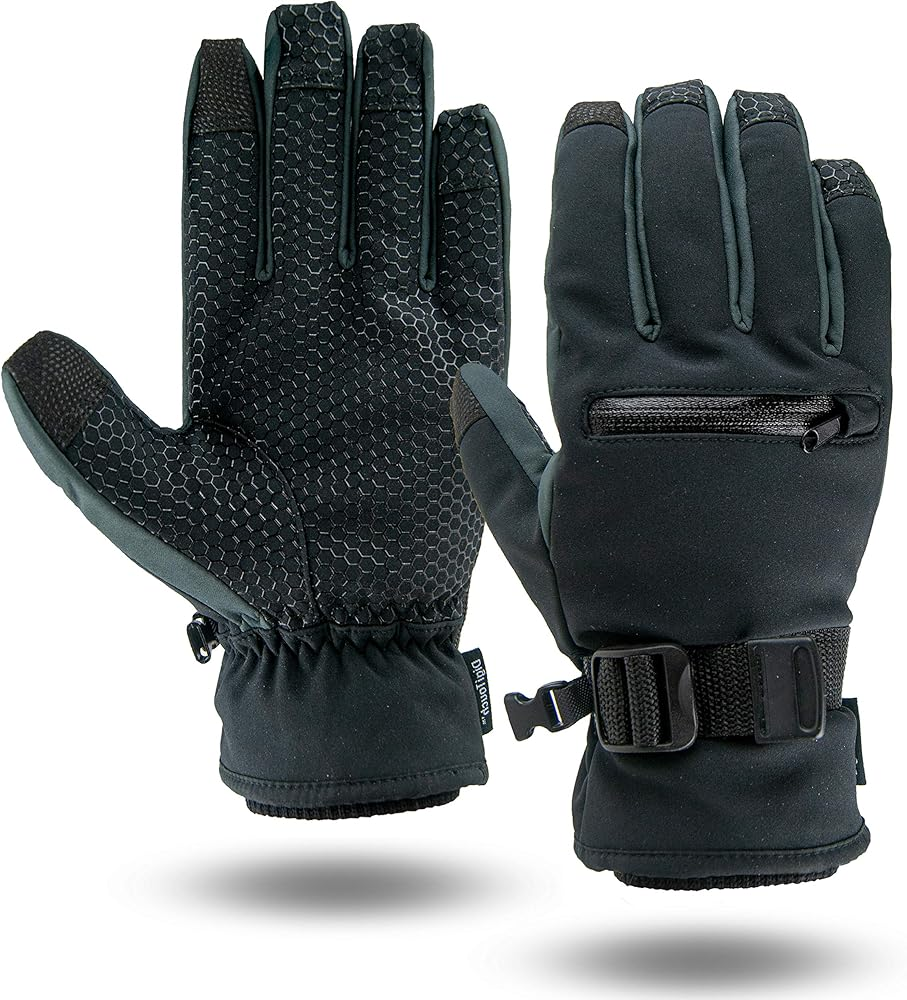
- Gloves: Waterproof gloves or mittens are a must to keep your hands warm and dry.
- Face cover: An underrated essential that will keep your face protected from the harsh sun and snow.
- Jacket & Pants: We do not recommend renting these at the resorts. It is often not value for money & it is also subjected to sizing and availability.
You can check out Shopee or Decathlon for these products. We have tested some of these products ourselves and they work great.
Personally tested: Goggles, Gloves
Rent:
- Helmet: Safety first. Rent a helmet until you decide to invest in your own.
- Skis/Snowboard and Boots: Even though I am now a seasoned enthusiast, I still prefer using rental equipment over purchasing my own! Rental equipment saves you the trouble of extra flight baggage costs and lugging around your equipment while travelling in the city.
3. Taking Lessons


Investing in lessons can make a significant difference in your snowboarding or skiing experience. Here’s what we recommend for first-timers:
- Taking lessons: We recommend taking 2 full days of lessons. A full-day group lesson usually costs around $150. These lessons provide comprehensive instruction and allow you to build a solid foundation.
- Indoor Lessons with Ski Academy Singapore: For those who want to get a head start, we highly recommend attending 3 indoor lessons with our partner, Ski Academy Singapore. Three lessons with Ski Academy are equivalent to one full day of lessons on the mountains. Therefore, if you have taken 3 lessons with Ski Academy, we recommend taking just one full day of “improver” lessons to help you transition to the mountain terrain when you are on your ski trip.
4. Learning How to Fall Correctly
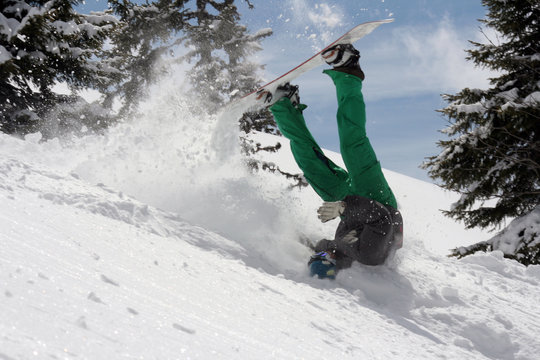
Learning how to fall correctly is very important. At the beginning, you will be falling frequently, and knowing how to fall without getting hurt will enhance your experience and give you more time on the slopes. Here are some tips:
- Go Low: Lower your centre of gravity to minimize the impact.
- Tuck and Roll: Try to roll with the momentum rather than stopping abruptly.
- Slide: Sliding with the fall can reduce the risk of injury.
- Protect high-risk areas: The wrists, shoulders and knees are where your joints are and hence are the high-risk areas. While it is a natural instinct, you should never land on your wrist – ball your hands up!
5. Understanding Slope Colours and On-Piste vs. Off-Piste
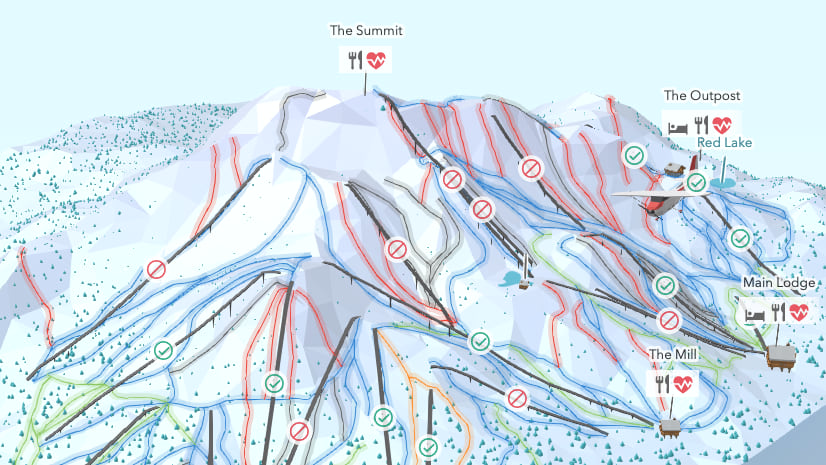
Knowing the different slope classifications is crucial for your safety and enjoyment on the mountain.
Slope Colours:
- Green Slopes: Beginner slopes. These are the easiest and are ideal for learning the basics.
- Blue Slopes: Intermediate slopes. Slightly steeper but still manageable for those who have mastered the basics.
- Red Slopes: Advanced slopes. For skiers and snowboarders who are confident in their skills.
- Black Slopes: Expert slopes. These are the most challenging and should only be tackled by experienced individuals.
On-Piste vs. Off-Piste:
- On-Piste: These are marked, groomed trails maintained by the ski resort. They are safer and ideal for beginners and intermediates.
- Off-Piste: These are unmarked, unpatrolled areas outside the resort’s designated trails. They offer more challenging terrain and fresh powder but come with increased risks. Only advanced skiers and snowboarders should venture off-piste, preferably with a guide and the necessary safety equipment.
Final reminders
- Take Lessons: Professional instruction can significantly improve your skills and confidence.
- Stay Hydrated: Bring along a small water bottle that can fit into the pocket’s of your jacket to stay hydrated
Embarking on your snowboarding or skiing journey is thrilling, and being prepared can make it even more enjoyable. With the right layers, gear, and knowledge of the slopes, you’ll be ready to hit the mountains with confidence. Enjoy the ride!

Leave a comment